Configuration Guide
Once you have installed Cybrosys Assista, this guide will walk you through configuring the IDE for Odoo development.
Launch Screen
When you launch Cybrosys Assista, you will be greeted with the welcome screen:
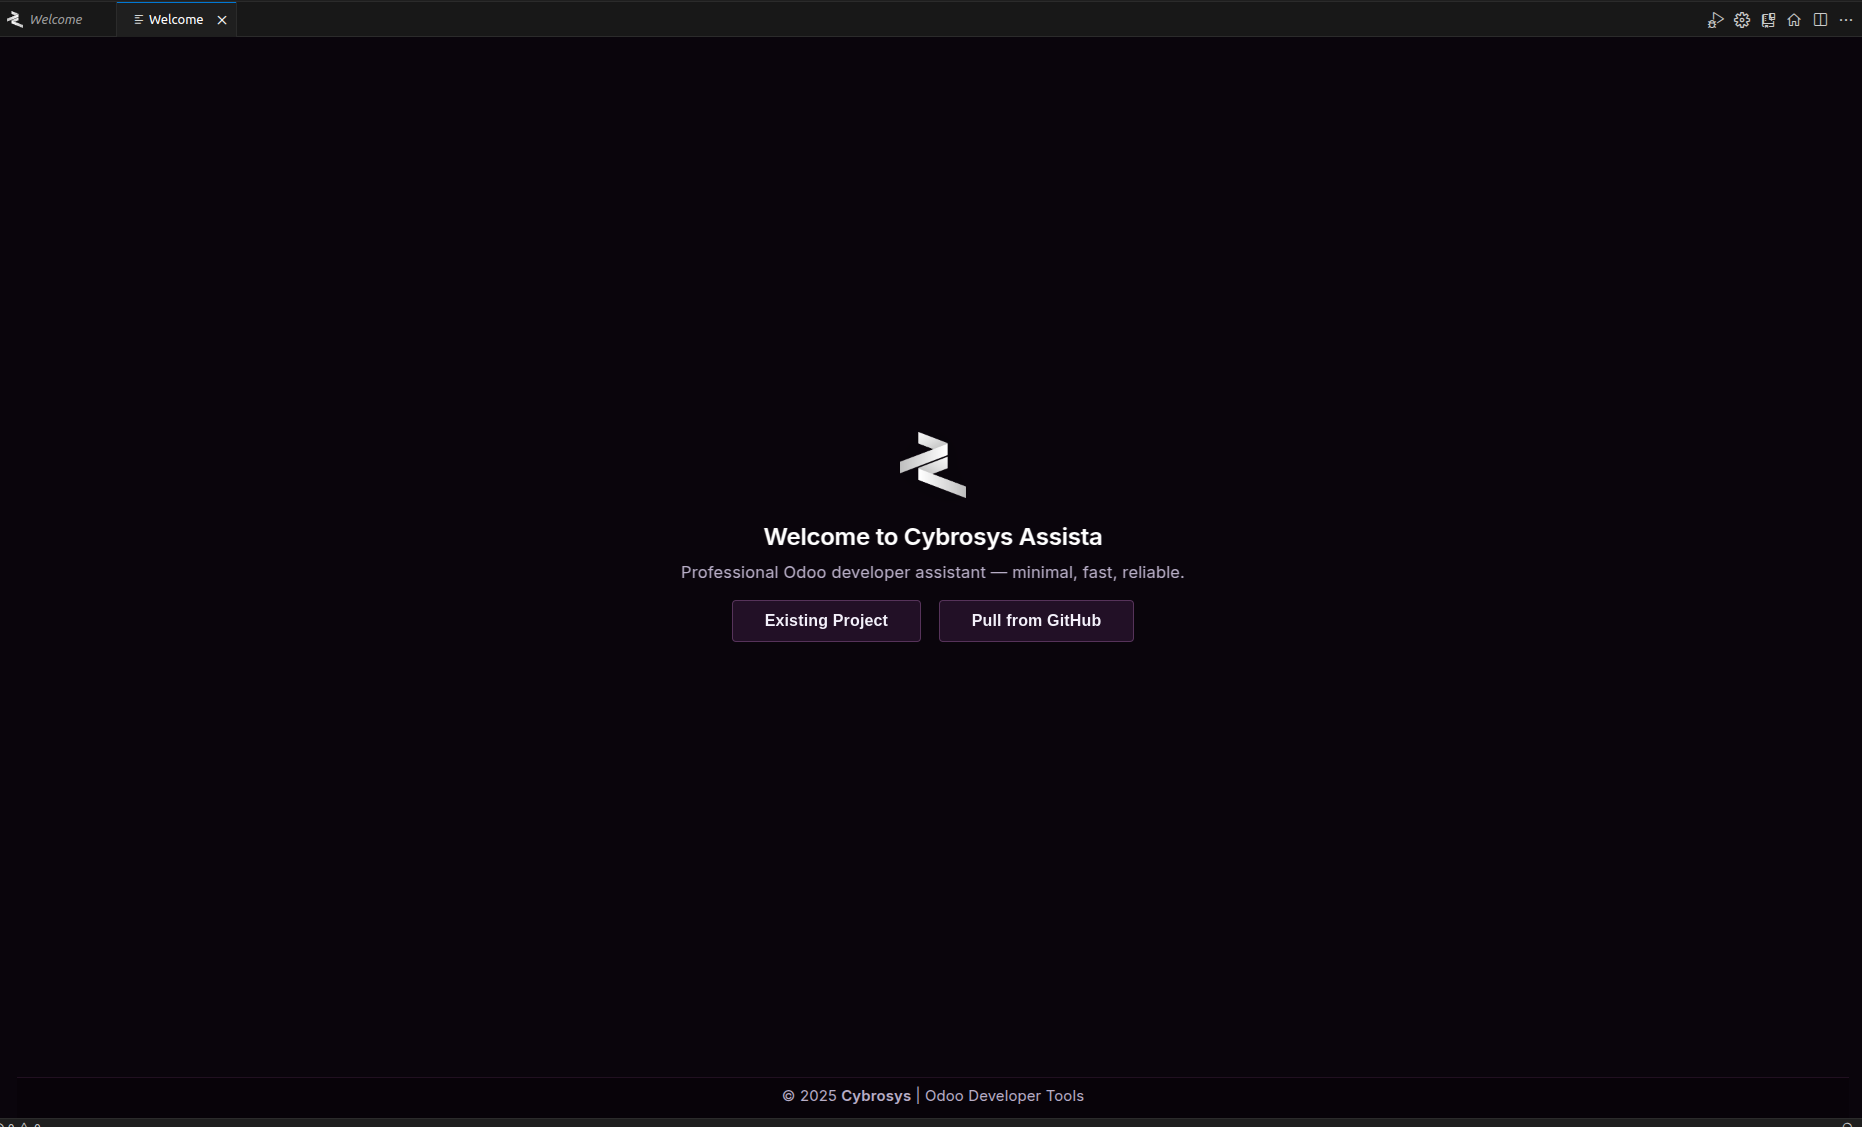
Here you have two options:
- Existing Project — Open a project that is already on your machine.
- Pull from GitHub — Clone Odoo source code directly from GitHub.
Pulling Odoo from GitHub
If you select Pull from GitHub, you will be prompted to enter the desired Odoo version:

➡ Type the version you want (e.g., 18.0, 17.0, 16.0) and press Enter.
Cybrosys Assista will automatically pull the corresponding Odoo version.
Opening a Workspace
If you selected an existing project or successfully pulled from GitHub, you will see the workspace open prompt:
Click Open Workspace 🚀 to proceed.
Setting Up Your Odoo Workspace
Next, you'll be guided to configure your Odoo workspace:
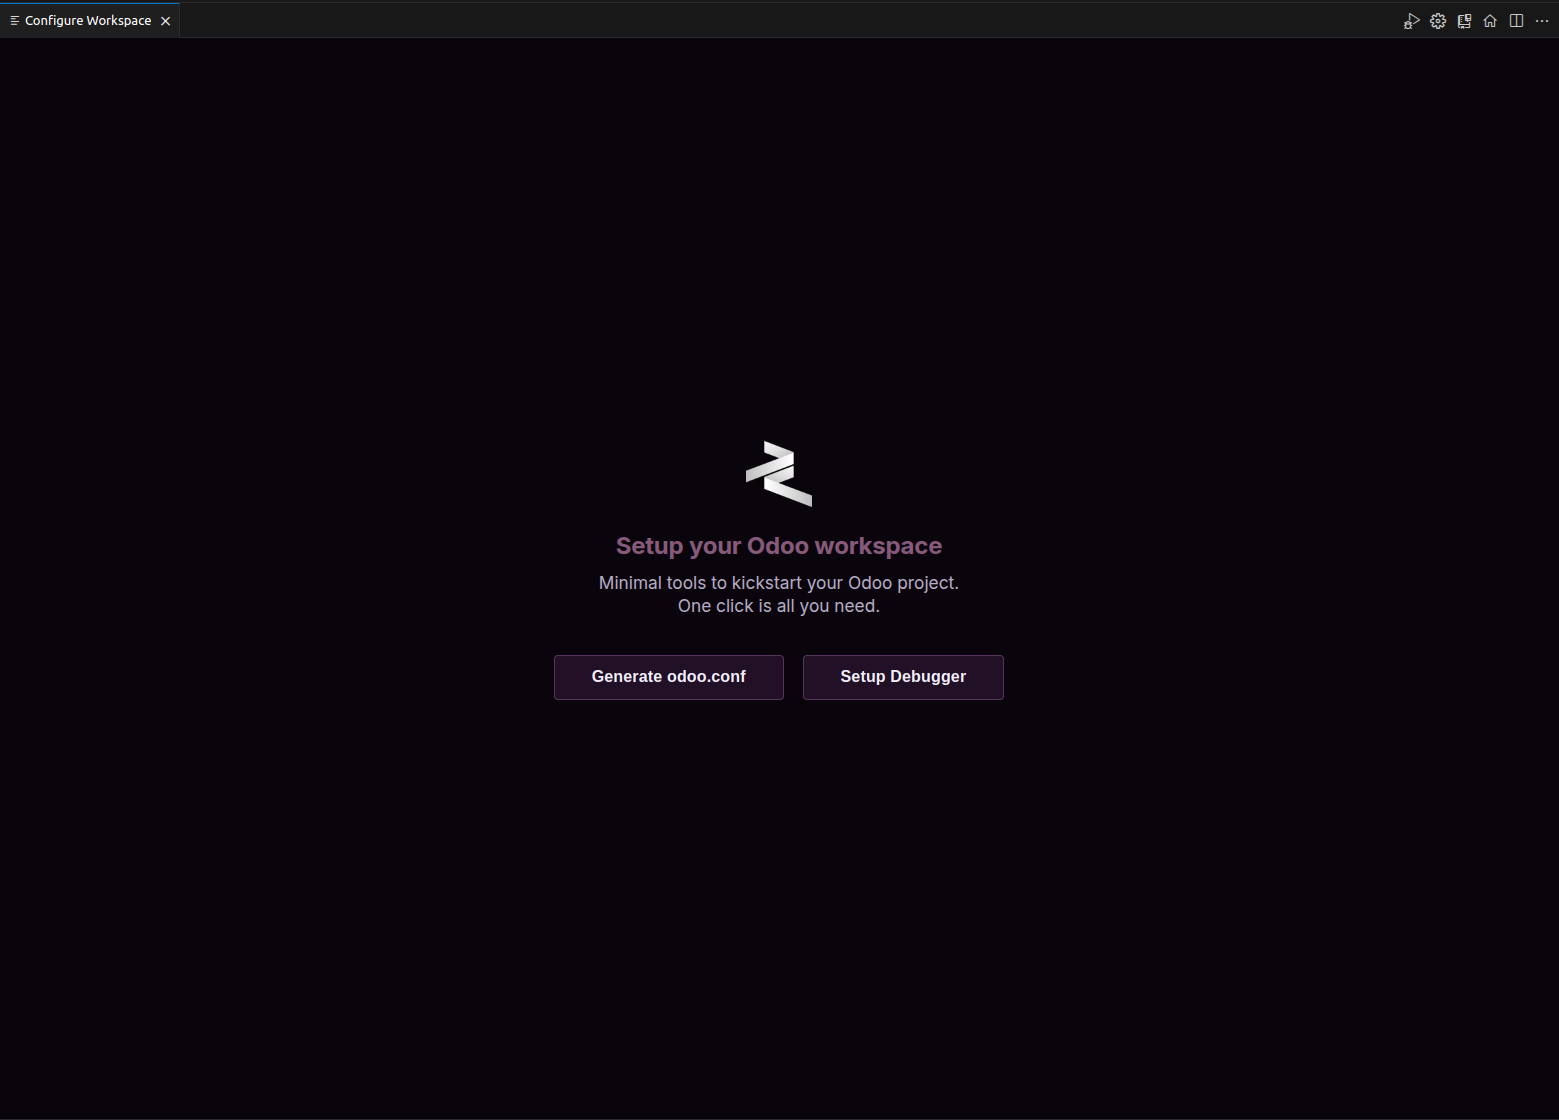
Here, you have two key options:
- Generate odoo.conf — The IDE will guide you through prompts to generate an Odoo configuration file.
- Setup Debugger — Configure debugging tools for your Odoo project.
During the configuration: 
➡ You will be asked if you have custom modules. Answer accordingly to tailor the configuration.
Virtual Environment
💡 Tip:
For smoother functioning, it is highly recommended to:
✅ Create a Python virtual environment for your Odoo project.
✅ Install the required dependencies:
pip install -r requirements.txt